I'm not sure why you come to my blog, I'd love to know, drop me a comment so I can plan some future posts. Maybe it's for the photos, or painting, or gardening, or maybe you're just curious about what I'm up to. Whatever the reason I'm glad you're here.

Today I have 5 photography tips for you to accomplish those scroll stopping photos or to just improve your photography.
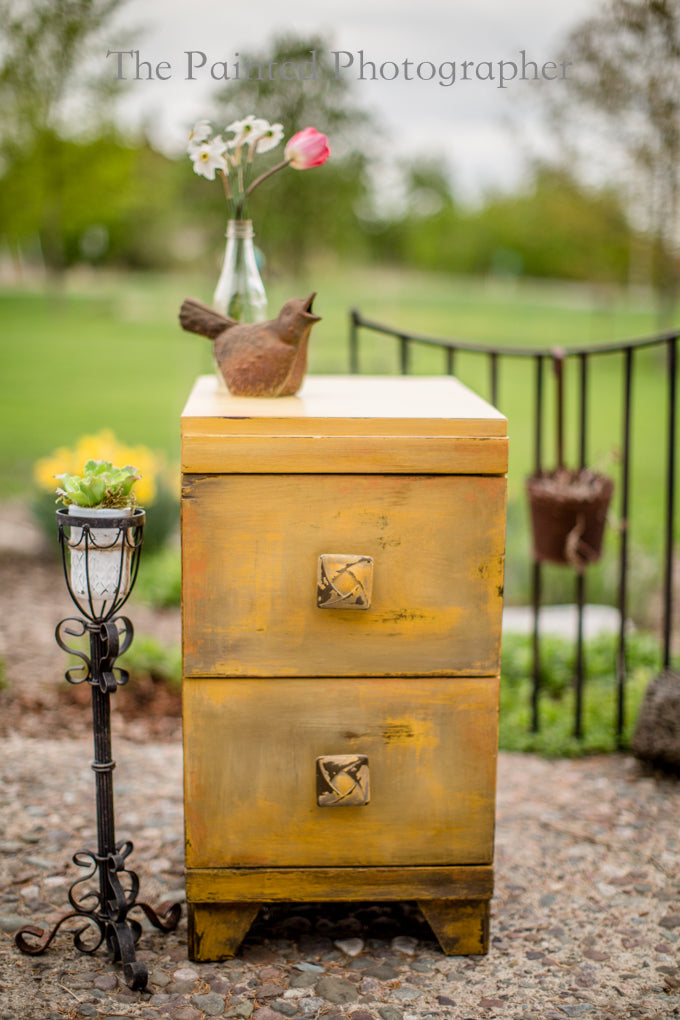
#1 - Light - Without light there is no photo
It's not always the amount of light that reaches the camera's sensor, it's the quality of light. Light can be soft and diffused or hard. Cloudy days are the perfect days for the softest diffused light. Sunlight during midday is the most direct, resulting in harder light and harsh shadows. There is something called The Golden Hour in photography. It is the morning and evening light as it travels further to reach the earth. Sometimes the secret to the most ideal lighting is as simple as waiting until a different time of the day.
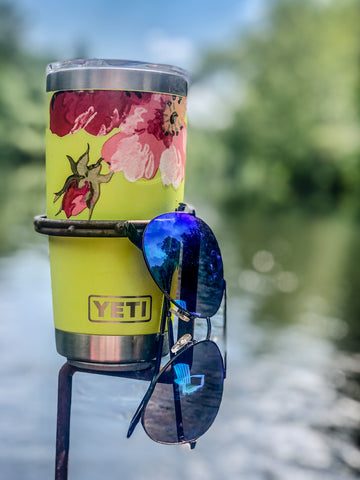
Here is a photo from when I added a Wallflower Transfer to my Yeti cup. We were sitting in the water soaking up the sunshine and I knew the photo needed some softer diffused light so I waited until the sun went under a cloud and grabbed the shot. Still looks like a beautiful day with a bit softer light for your eyes to rest.
#2 Move Your Feet
People often fall into the bad habit of shooting everything they see from eye-level. If you want to make an immediate impact in your photography, you need to get out of the eye-level rut. Don't let your feet root you to the spot: get ready for some bending, turning, walking and climbing. Start working with perspective in photography, your images will thank you for it. I've been in some pretty awkward positions just to get the perfect shot.
#3 Use the camera you already have
It's not the camera that has the artist's eye, it's YOU. Great images are possible with any camera. Is it the oven that makes the food taste good? Be yourself, stay focused and keep on shooting. It's not what camera you use, it's what you do with it.
I took this photo of my grandson's freckles with my iphone. He was in the shade, his face was directed towards the light, it was later evening, I zoomed in close, and I took it from above him. You don't need a fancy camera to capture those moments you never want to forget. (Those eyes and freckles are gorgeous)

#5 Rule of Thirds
The basic principle behind the rule of thirds is to imagine breaking an image down into thirds both horizontally and vertically so that you have 9 parts. The theory is that if you place points of interest in the intersections or along the lines that you photo becomes more balanced and will enable a viewer of the image to interact with it more naturally.

The horizon line looks best if placed at the bottom 1/3 of the photo or the top 1/3. A horizon line placed at the center of the photo does not make it interesting. (Note - Always make sure your horizon line is straight, nothing worse than having a photo where the water is running up hill.
Splitting your photo into 5ths gives a different spin. Placing the horizon line at the bottom 1/5 of the photo makes for a great composition when the sky has some interest. This barn is one of my favorite landscapes that I see right out my front door.

#6 Make use of Leading Lines
It's important to know that creating leading lines in your photography guides the attention of our viewer to a specific point. The next time you see a photo you like, ask yourself why you like it? Then pay attention to where your eye is drawn when first looking at it, then where does your eye travel, does it take in the full image? If you eye stalls and does not travel around the photo it needs better light, better composition or a different view.

The photo above shows all the shorts that are painted with DIY Paint. The clothes lines take you eye across the page. The photo below gives you a different line for your eyes to follow and makes the composition more interesting.

Sometimes the best way to see your project is through a photo. Take a photo of your painting and then look at it through your camera, computer screen or phone. It will look different than your natural eye sees it and most times I can see what I like or what I have to change from the photo.
My photography world is changing, I've lightened up on my photo shoots because painting fills my love tank and most of my time. I still have a passion for it but most of the photos I take are of furniture, nature and just for fun. One thing I miss in photography is teaching others to take pretty photos and to know why something looks good or doesn't look good. I feel photography and painting have a place in my heart and they connect with each other well.

If you'd like to read more blog posts click this link.
Until next time Happy Painting!!